Hidden Expedition: Midgard's End: Chapter 4 Longbearbyen
Our Hidden Expedition: Midgard's End Walkthrough is filled with hidden object area solutions and mini game tips to help you solve this latest Hidden Expedition mystery and recover the ancient map that was stolen from the H.E.L.P Academy.
General Information & Tips
Chapter 1 What Happened?
Chapter 2 Kabaret
Chapter 3 Street Bound
Chapter 4 Longbearbyen
Chapter 5 The Lab
Ask for help in the comments below!
Chapter 1 What Happened?
Chapter 2 Kabaret
Chapter 3 Street Bound
Chapter 4 Longbearbyen
Chapter 5 The Lab
Ask for help in the comments below!
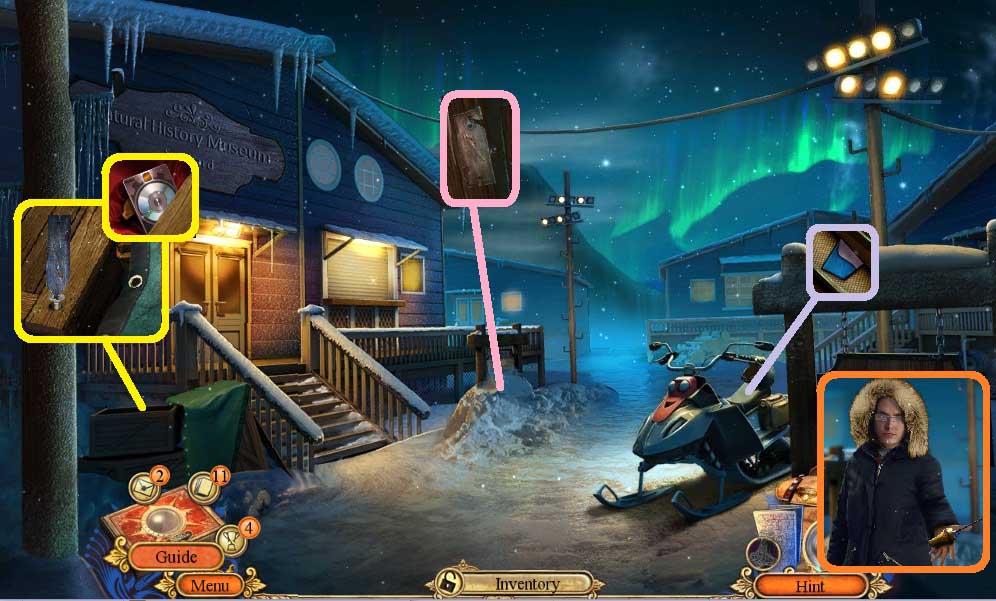
- Collect the distress beacon.
- Click the seat & collect the logo piece.
- Click the ice& collect the screw plate.
- Select the tongs to use on the screw plate.
- Click the snow.
- Click the laces 3x’s.
- Use the screwdriver top.
- Collect the fact card & logo piece.
- Move into the Museum.
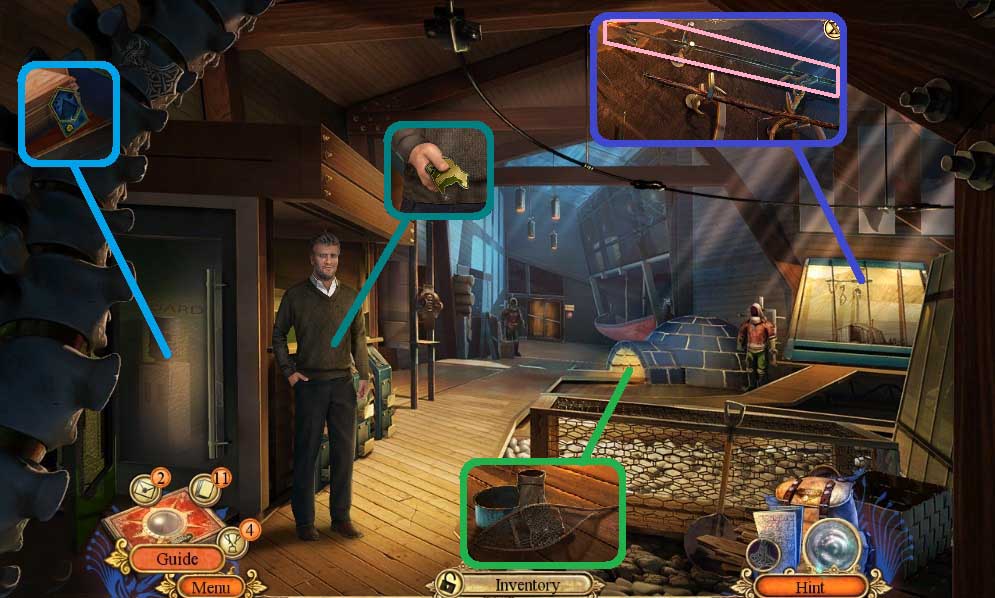
- Collect the brass bear.
- Click the items aside; collect the logo.
- Collect the small harpoon & museum logo.
- Move down once.
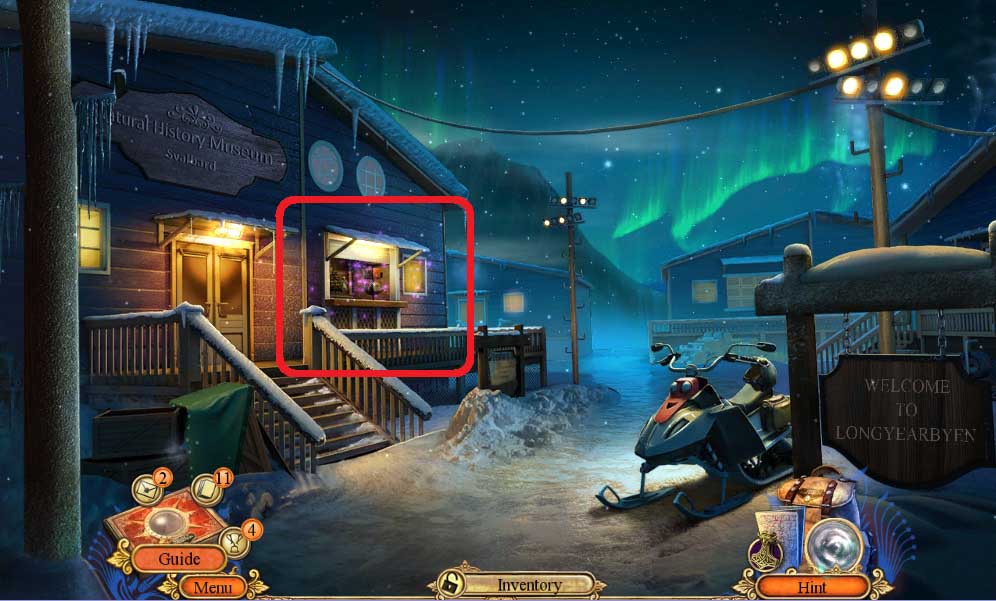
- Place the brass bear to trigger a hidden objects area.
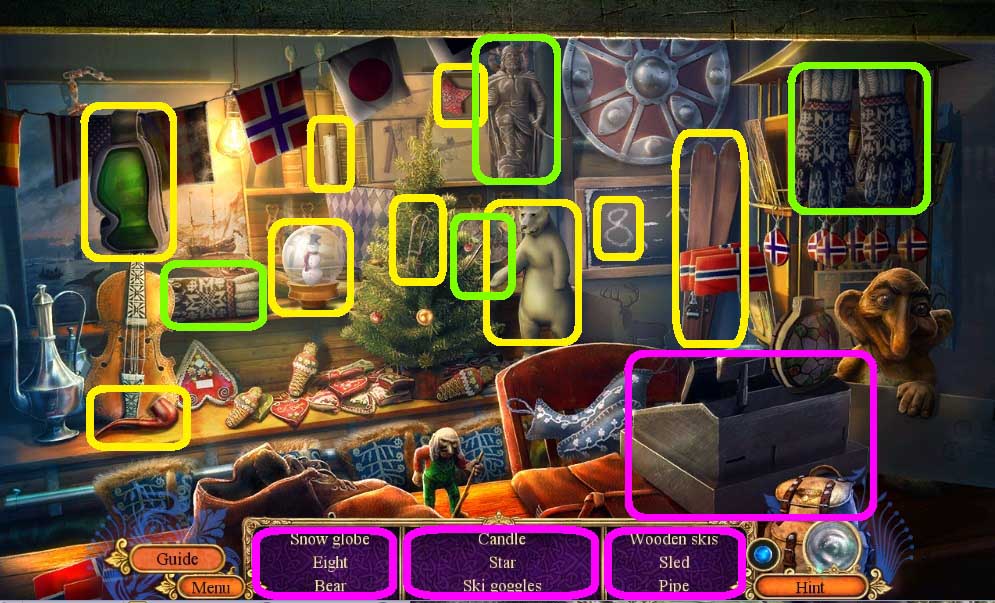
- Find the items.
- Place the number buttons and click the numbers in the following order: 5-3-9-2-6-1-7
- Collect the ID card.
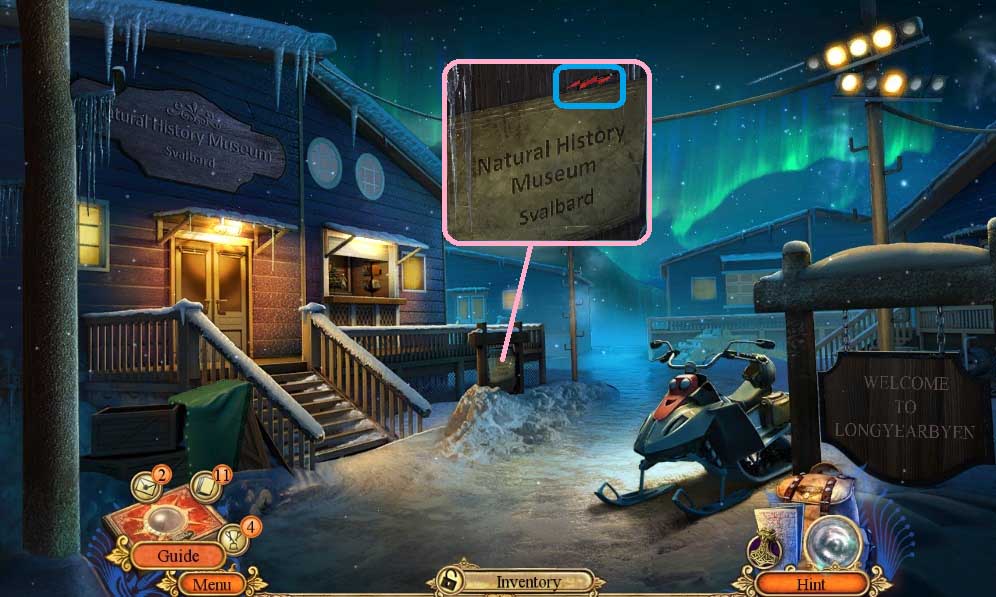
- Use the small harpoon to collect the lightning symbol.
- Move to the Svalbard Museum.
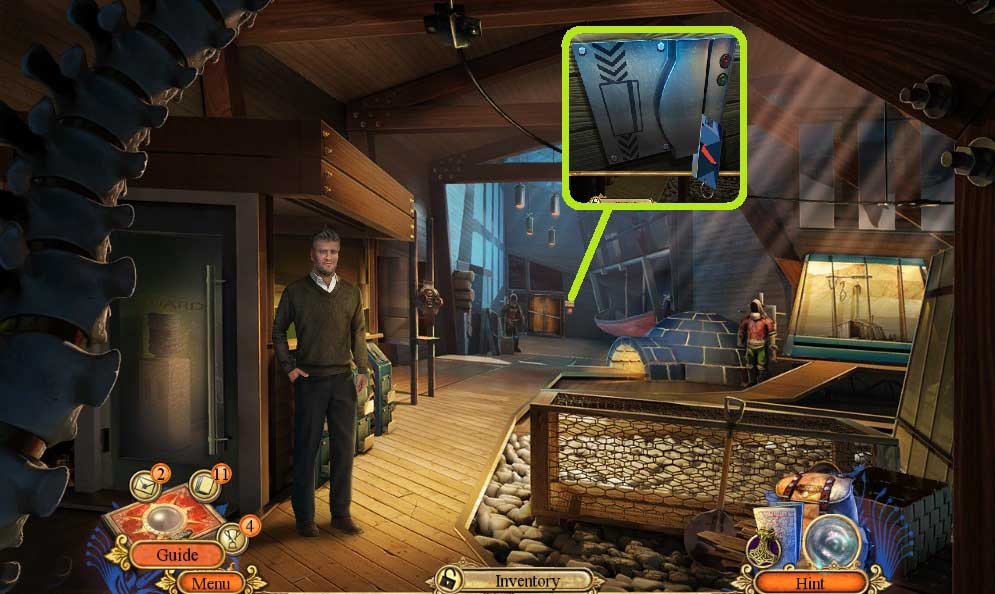
- Slide the ID card.
- Enter the exhibit doorway.
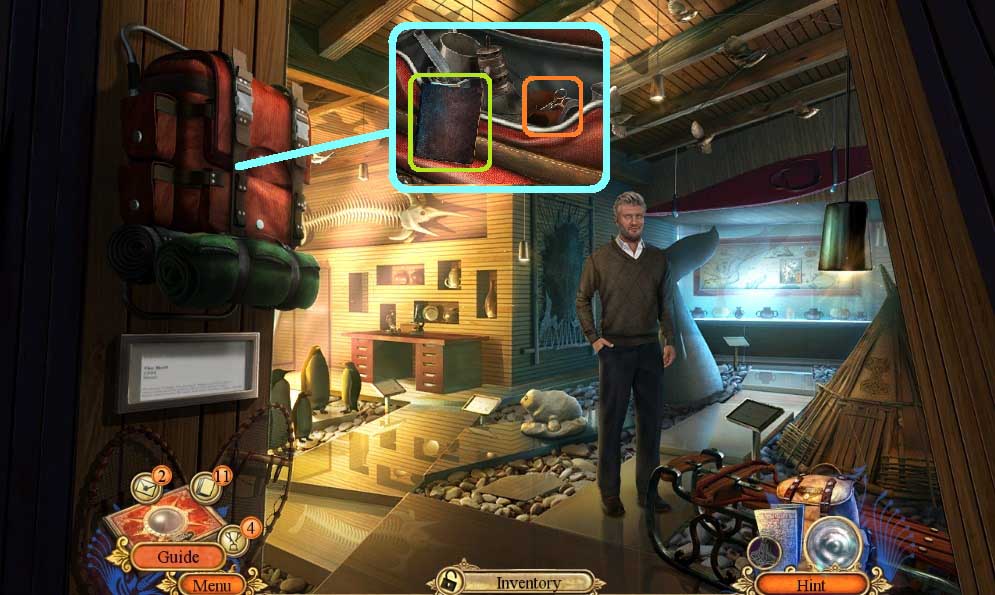
- Click the bag 2x’s; examine the diary & collect the scissors.
- Move down once.
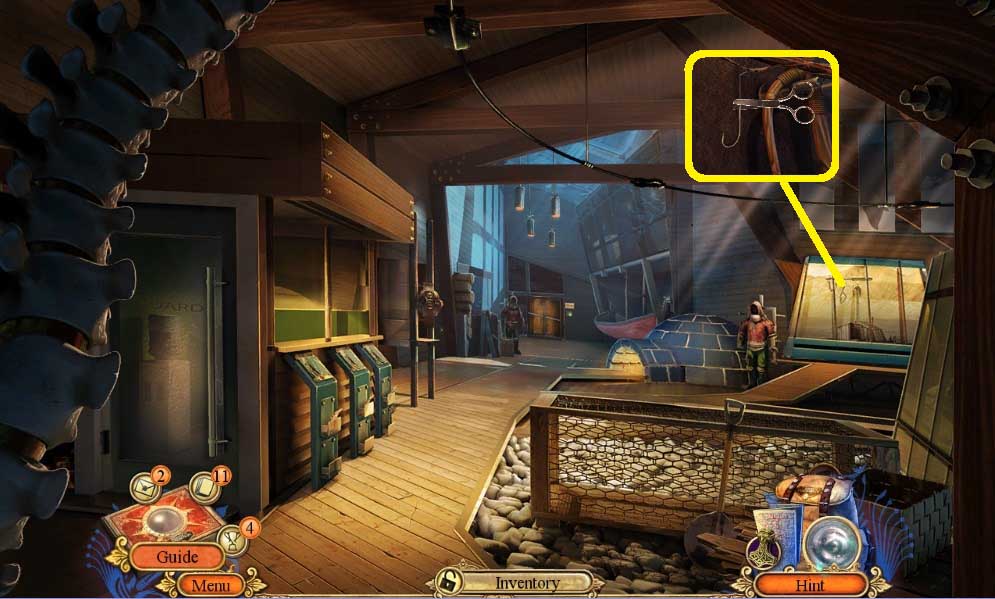
- Use the scissors to collect the fishing hook.
- Move into the exhibit.
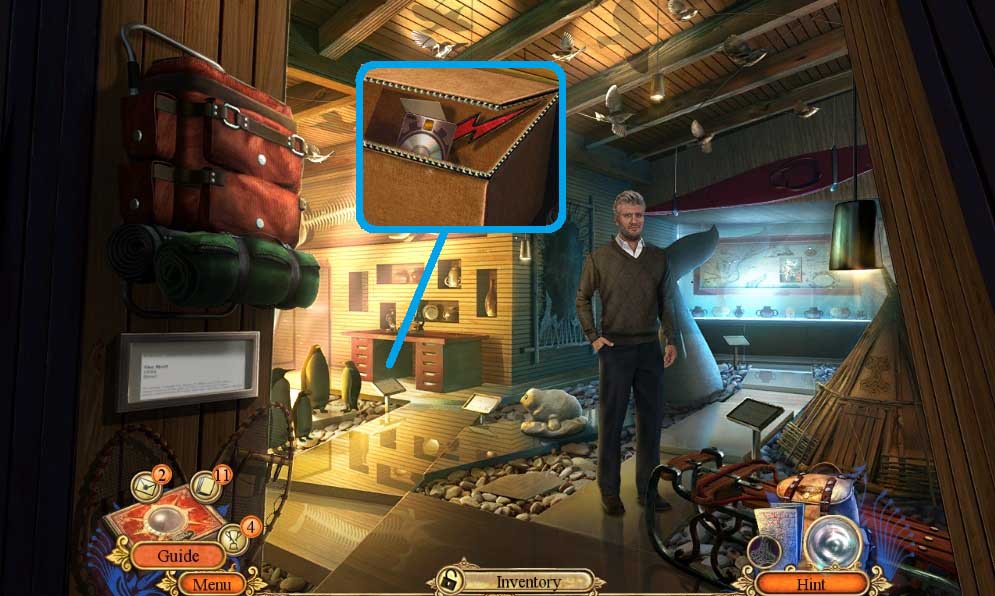
- Collect the fact card using the fishing hook.
- Collect the matches & lightning symbol.
- Move down once.
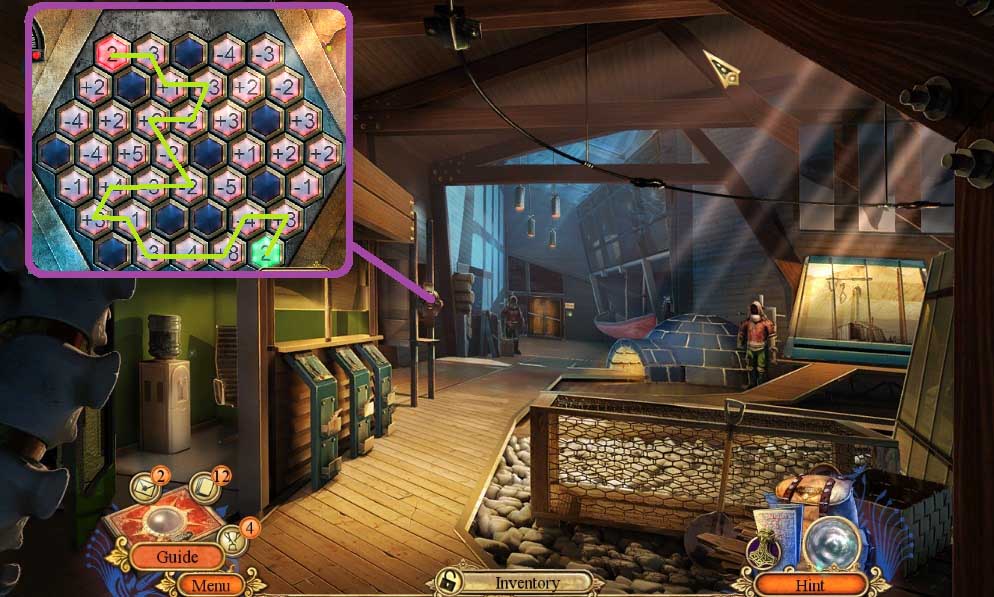
- Insert the lightning symbols to trigger a mini game.
- Solve the game by meeting the red tile with the same number on the green tile.
- Collect the flashlight.
- Move ahead once.
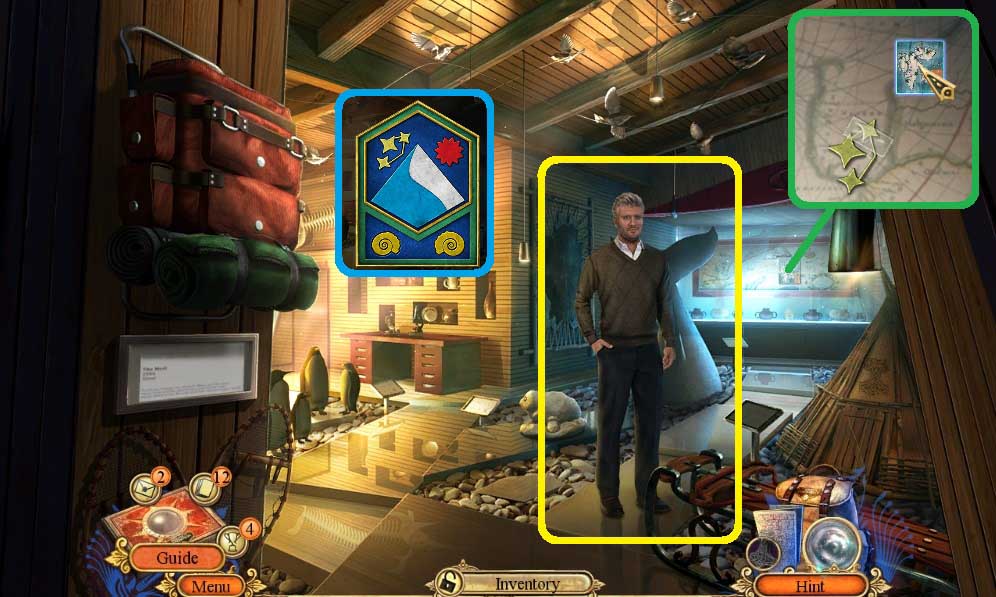
- Place the transparent overlay & flashlight to trigger a mini game.
- Solve the game by dragging the flashlight to match the shapes.
- Collect the possible mine locations.
- Click the tape; collect the logo pieces.
- Give the man the mine locations.
- Insert the logo pieces.
- Move down once.
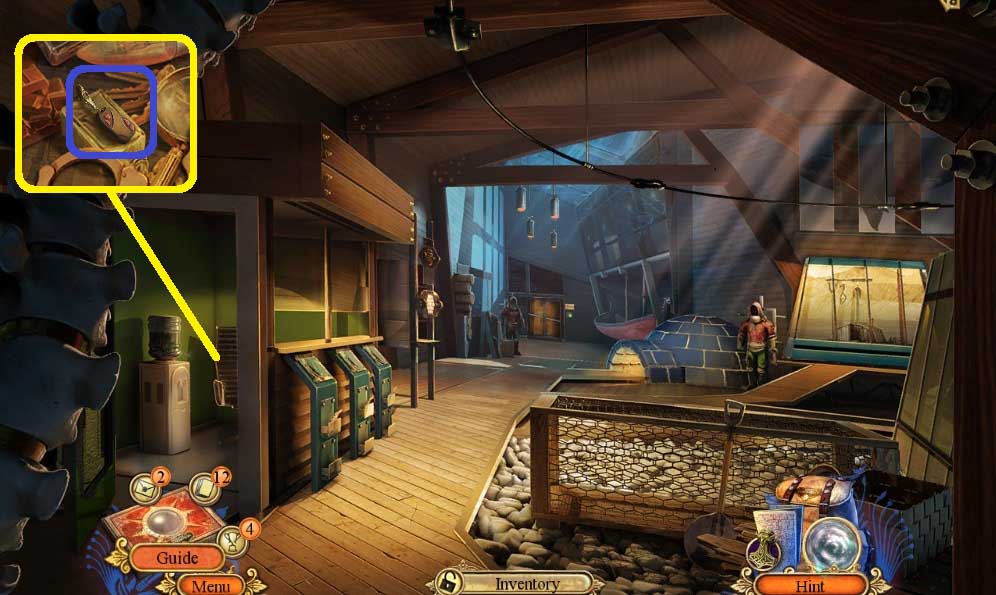
- Insert the museum logo; collect the snowmobile keys.
- Move down once.

- Insert the snowmobile keys and place the mine locations.
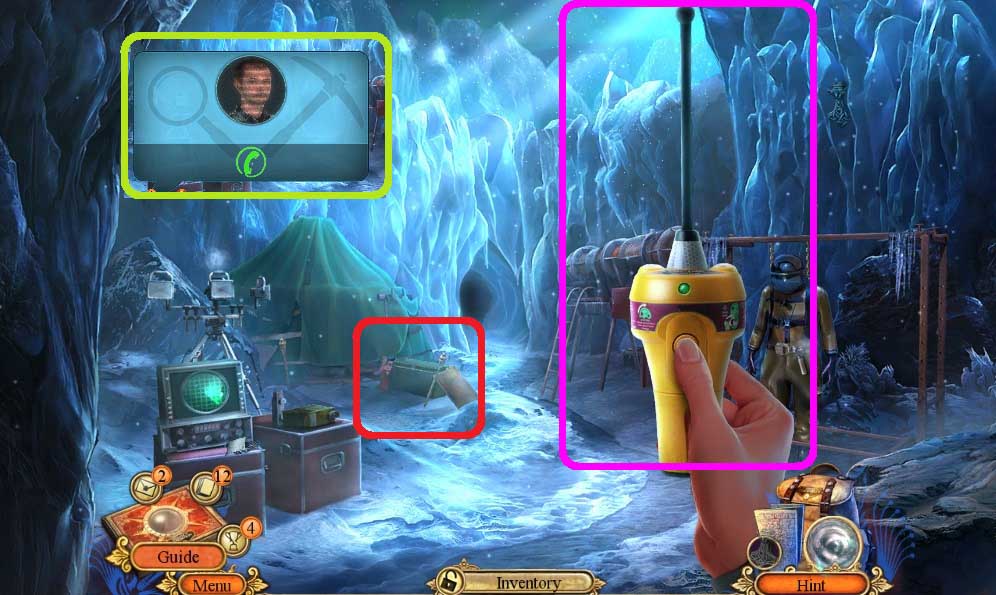
- Use the distress beacon on the scene.
- Answer the phone.
- Use the small harpoon to trigger a hidden objects area.

- Find the items.
- Collect the buckle.
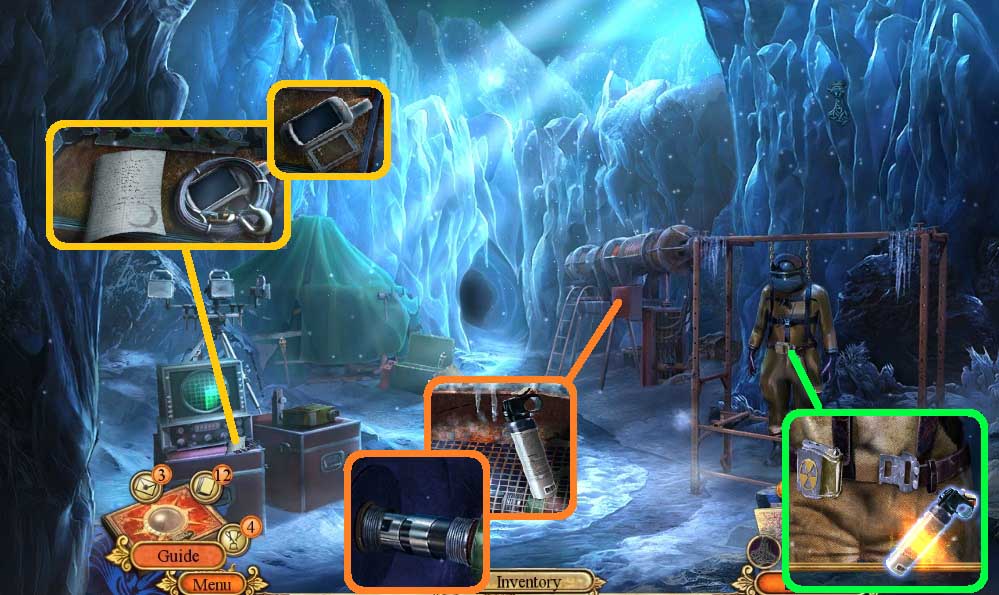
- Examine the note.
- Collect the wire cable.
- Insert the battery; collect the em sensor.
- Attach the buckle; collect the anti-corrosive spray & use it
- Click the door; collect the laser cutter.
- Move ahead.
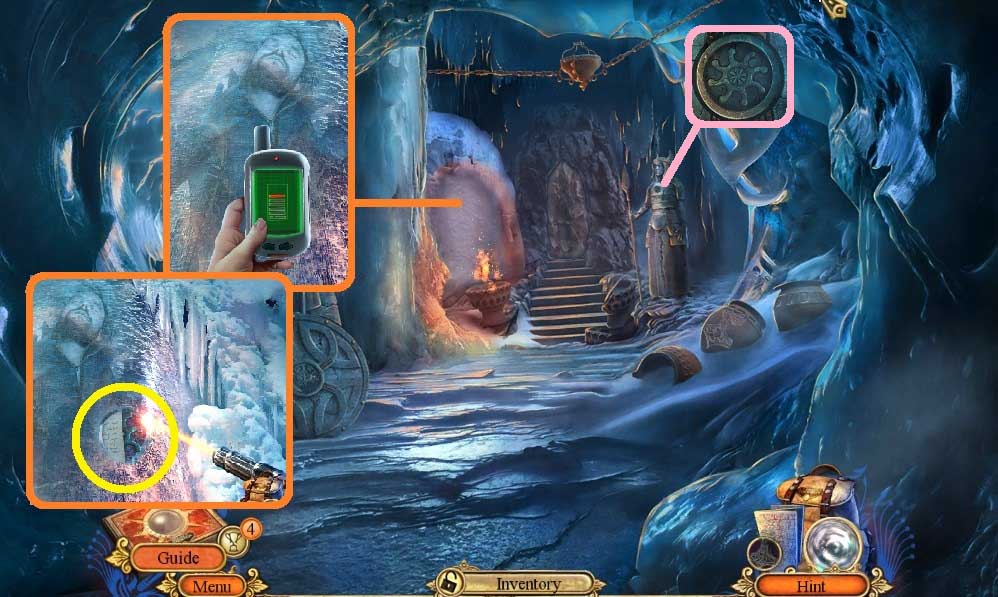
- Click the ice.
- Use the em sensor on the ice & click it once.
- Use the laser cutter; examine the note & collect the shieldmaiden pendant & place it into the groove.
- Move ahead once.
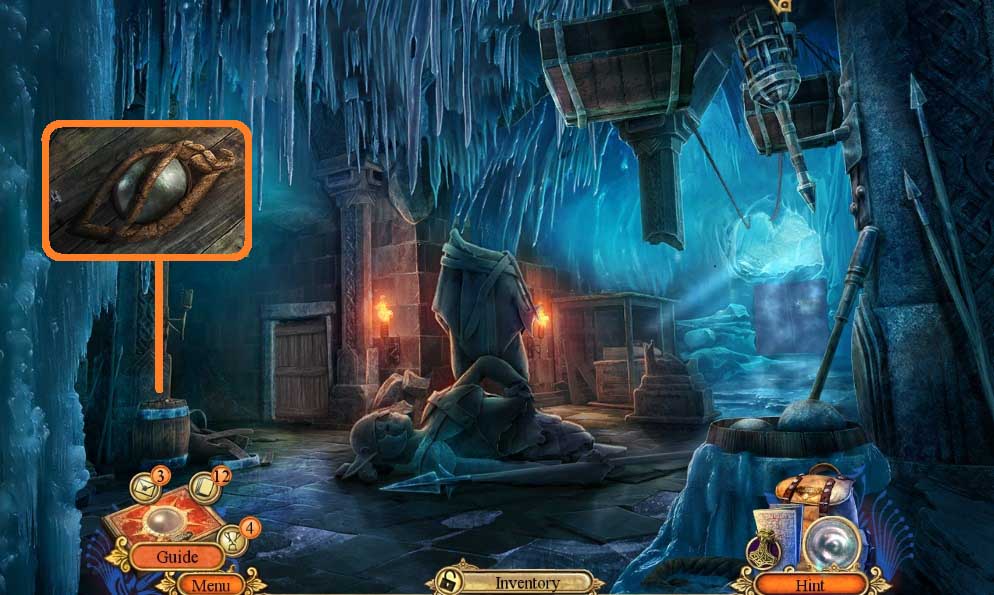
- Use the matches on the scene.
- Collect the eye decoration.
- Move to the Crafting Room.
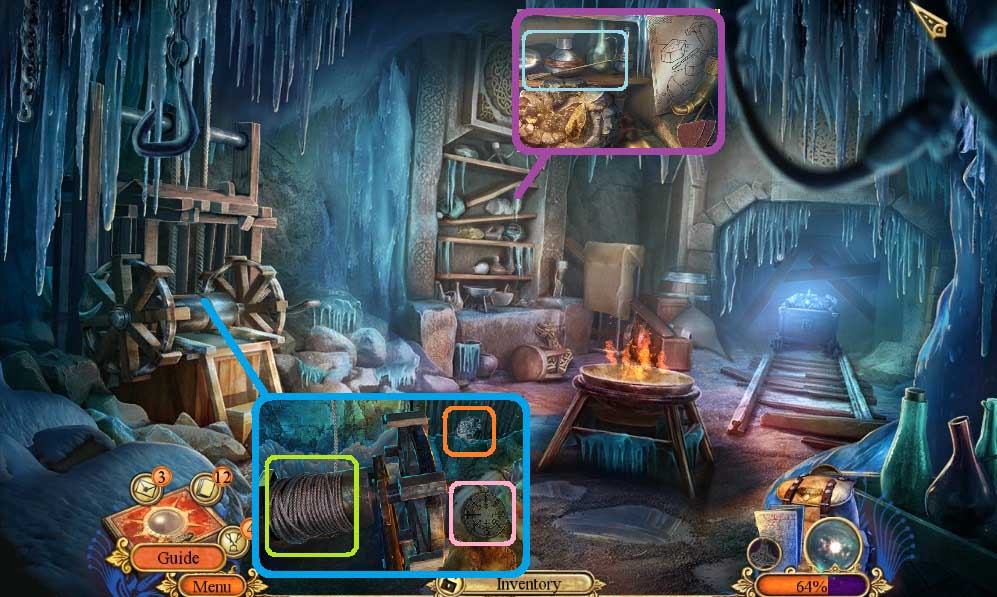
- Use the matches on the cauldron.
- Collect the crossbow bolt & examine the note.
- Collect the marble disk.
- Use the wire cable on the crank; collect the hel’s face.
- Move down once.
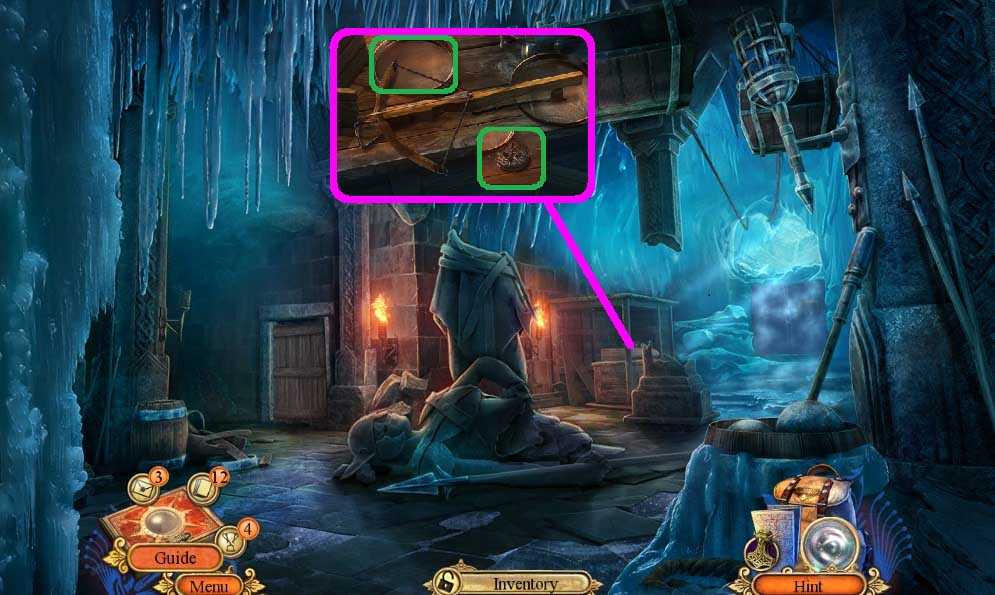
- Place the crossbow bolt and collect the crossbow.
- Click the plate; collect the Viking pendant.
- Move down once.
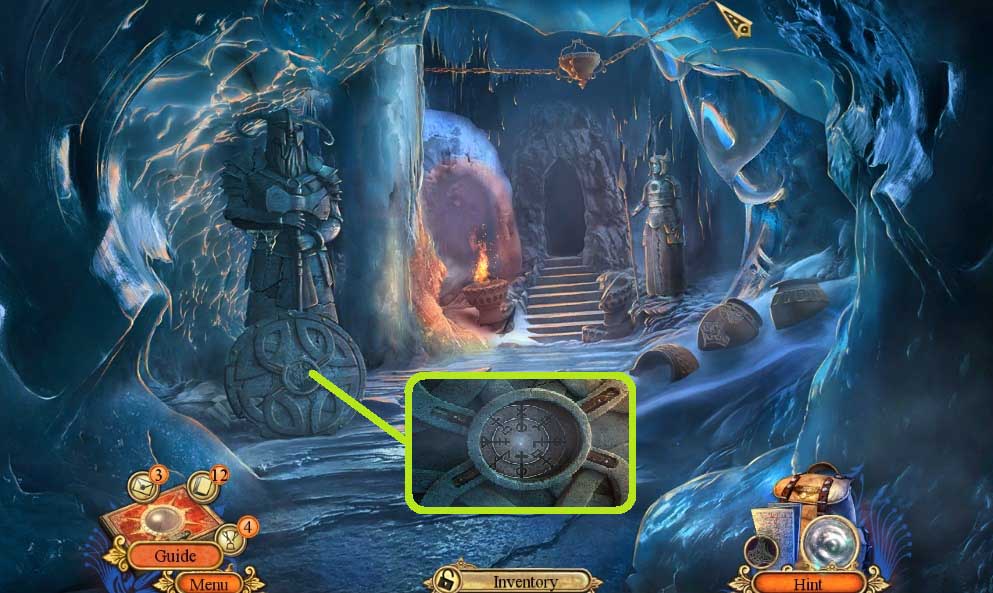
- Place the Viking helmet; collect the marble disk.
- Move ahead once.
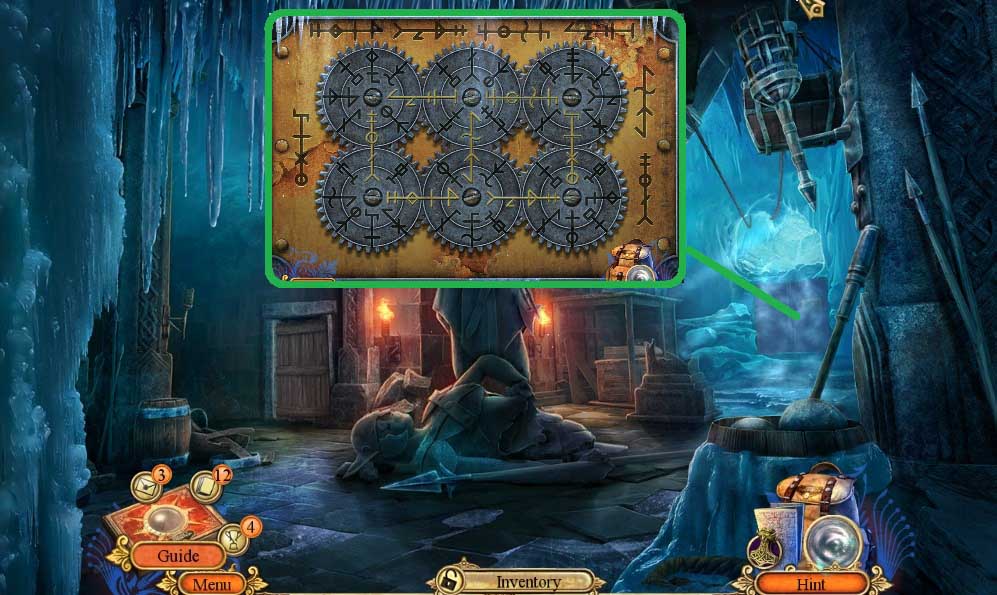
- Insert the marble disk to trigger a mini game.
- Solve the game by adjusting the wheels correctly to place the runes between them.
- Move into the Mine.
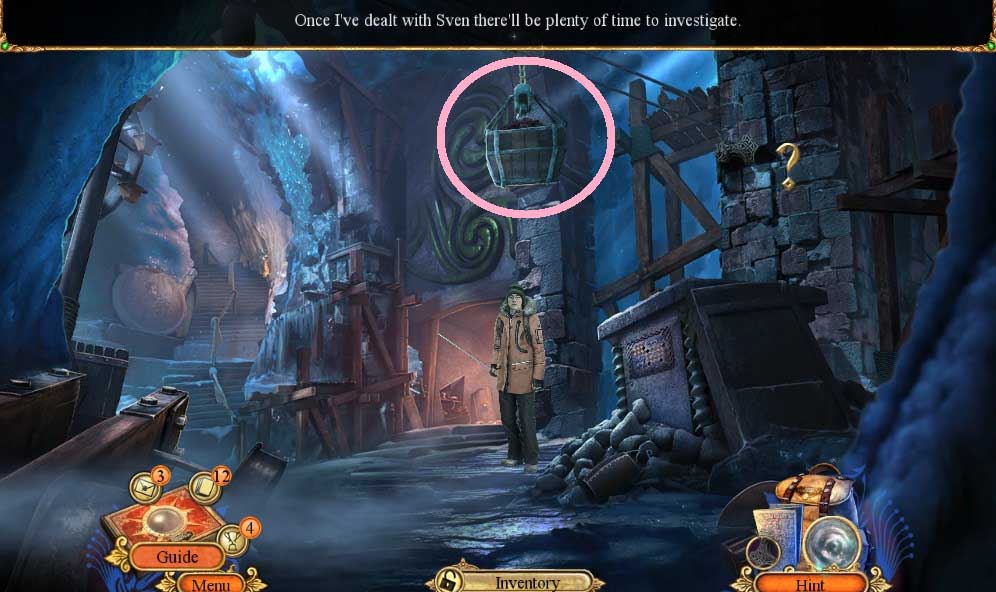
- Use the crossbow.
- Move to the Cliff.
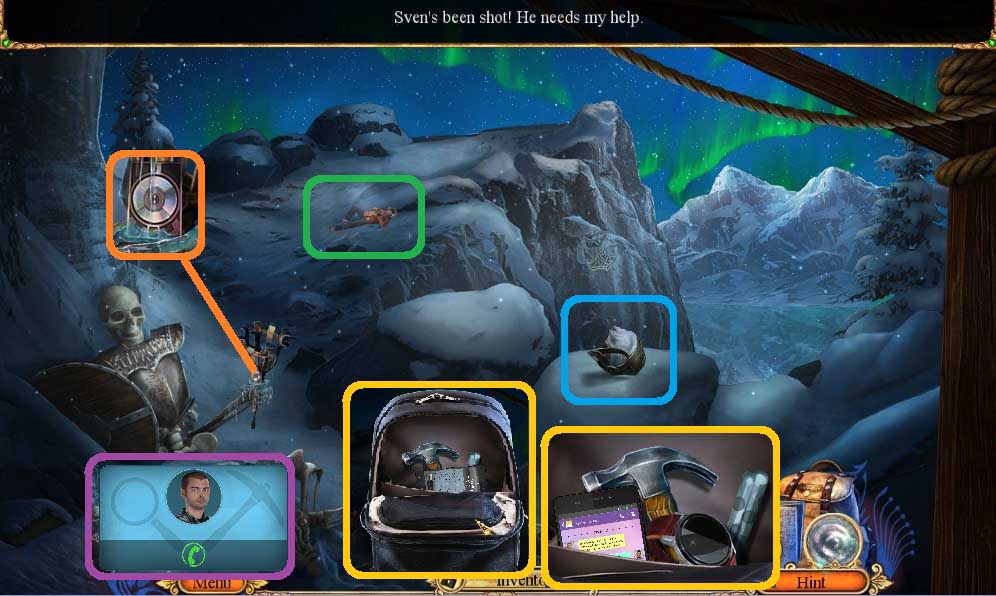
- Click Sven; collect the backpack.
- Answer the phone.
- Click the phone in the backpack & slide the buttons, then answer the phone.
- Click Michael Anker.
- Collect Sven’s watch ID, dirty vial & hammer.
- Collect the fact card & helmet.
- Move down once.
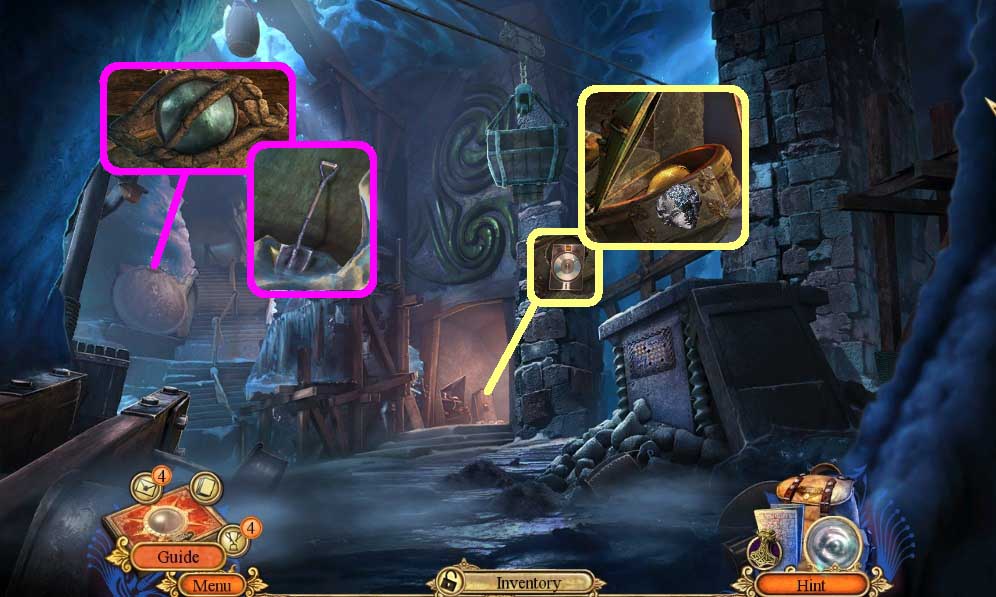
- Collect the fact card.
- Place Hel’s face; collect the golden tear.
- Insert the eye decoration; collect the shovel & golden tear.
- Move down once.
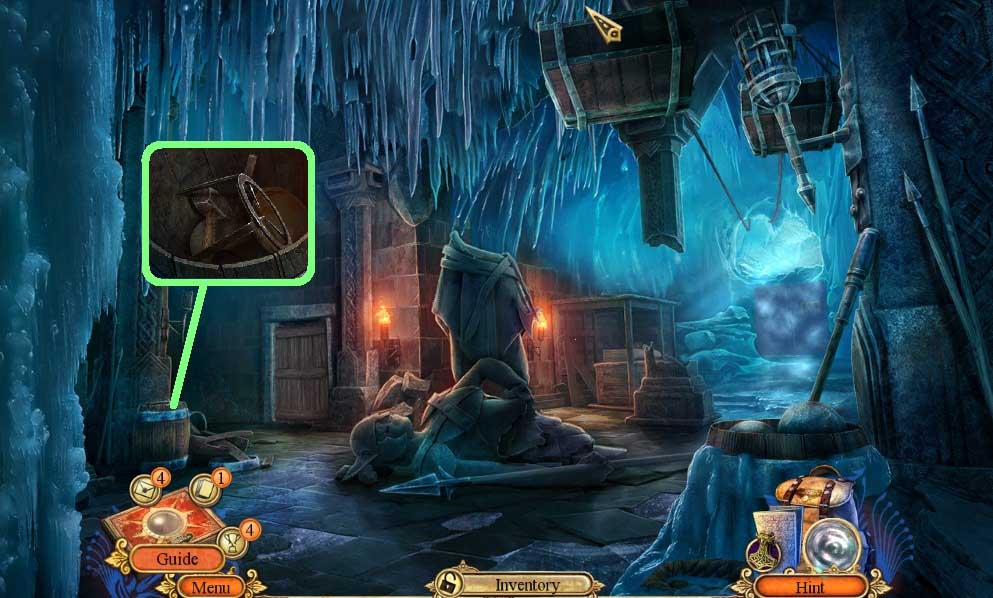
- Use the hammer to collect the pot stand & chisel.
- Move to the Crafting Room.
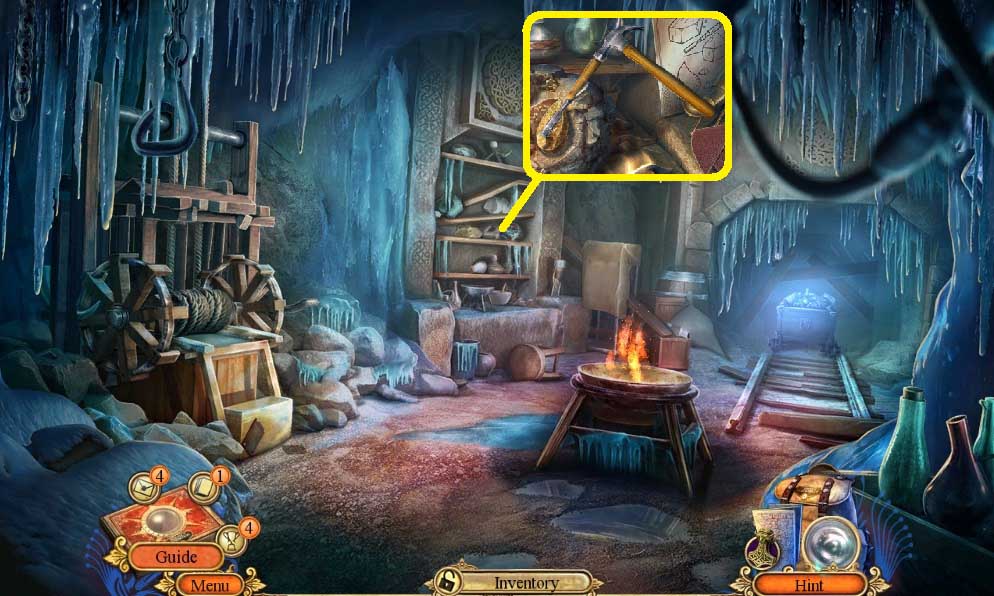
- Use the chisel & hammer to collect the golden tear.
- Move down once.
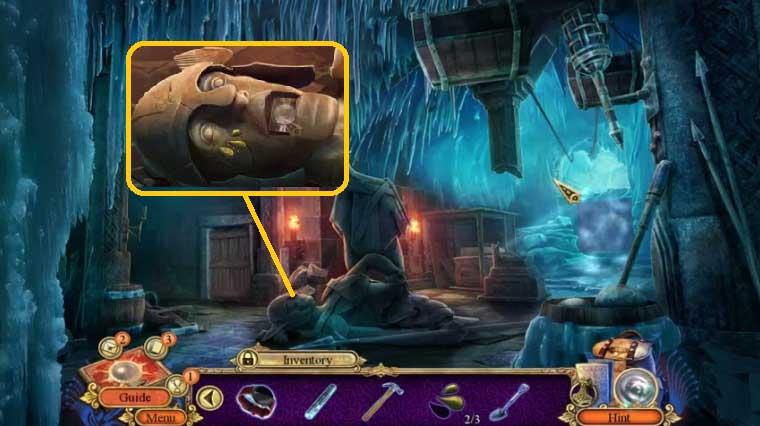
- Insert the golden tears; collect the fact card & Fenrir token.
- Move to the Crafting Room.

- Place the pot stand & helmet; collect the hot water.
- Move to the Cliff.
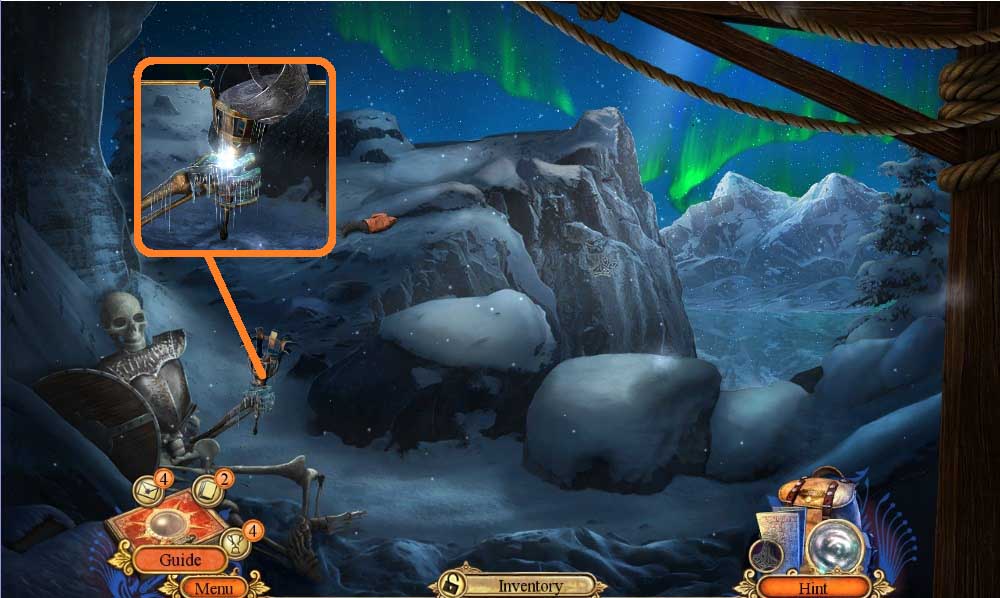
- Select the hot water to melt the ice; collect the torch.
- Move down once.

- Insert the Fenrir token to trigger a mini game.
- Solve the game by moving the wolf token to the correct area.
- Collect the wheel & torches.
- Move to the Crafting Room.
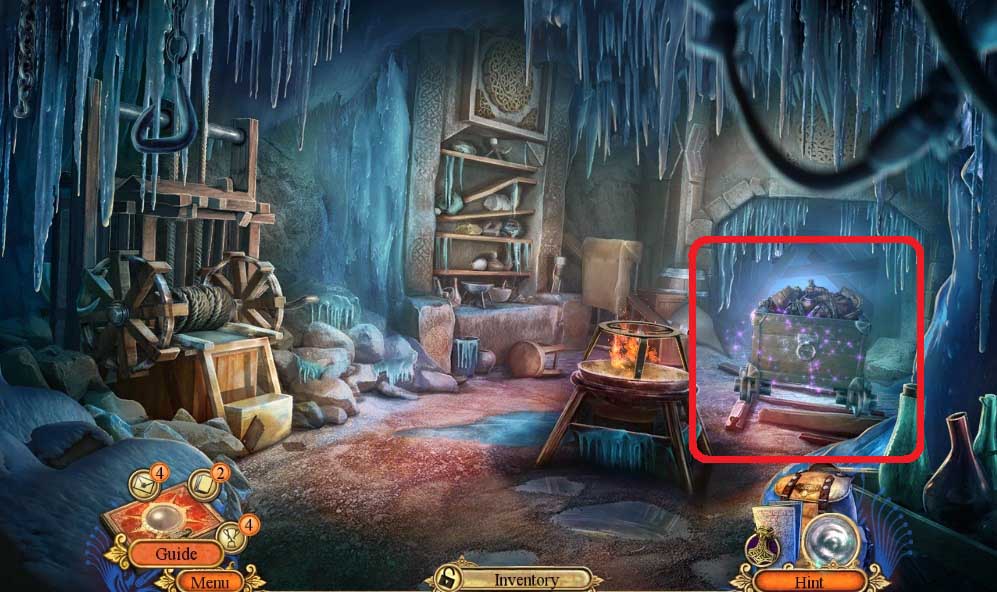
- Attach the wheel to trigger a hidden objects area.
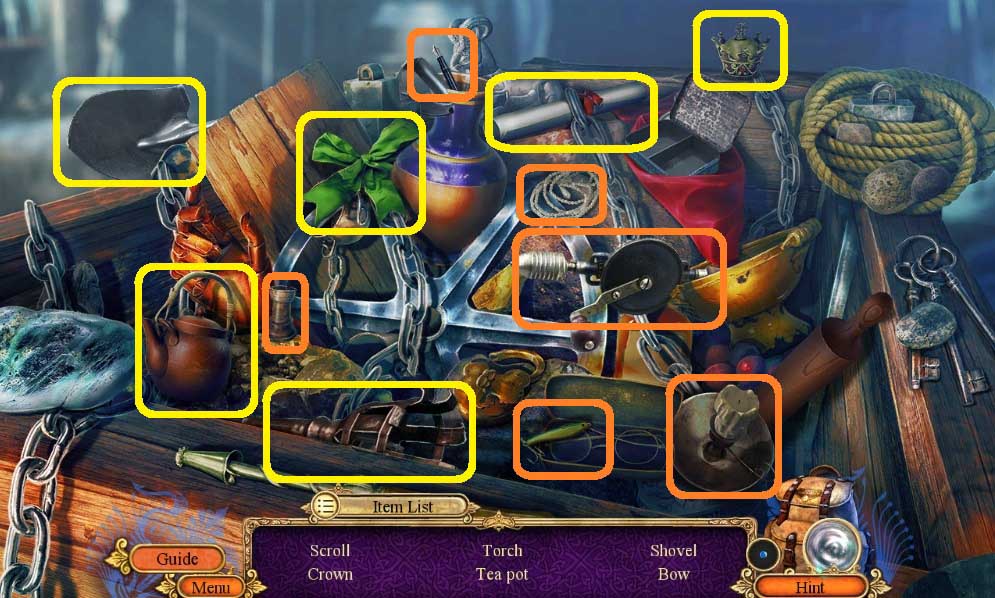
- Find the items.
- Collect the torch.
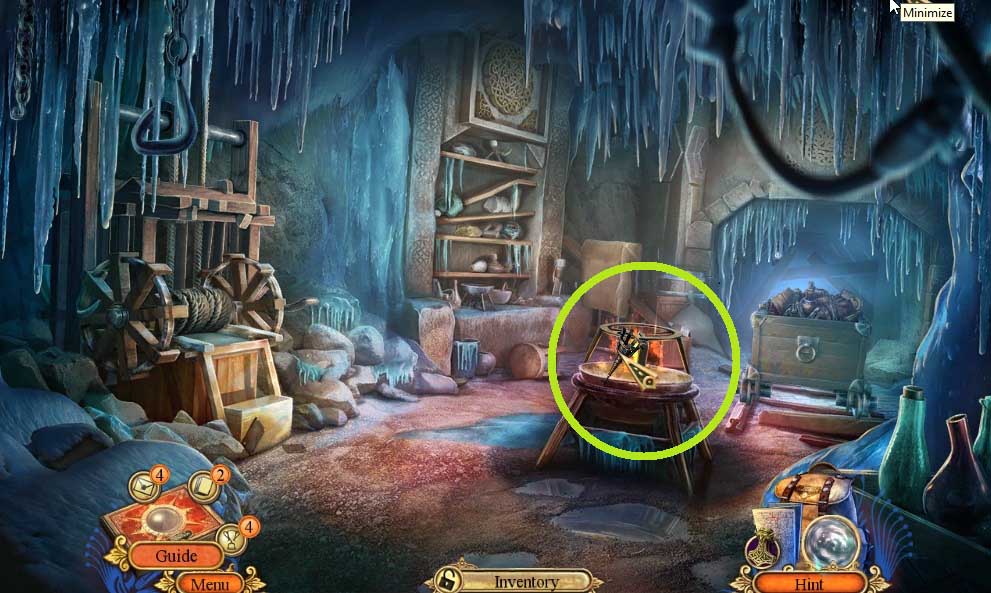
- Ignite the torches.
- Move to the Cliff.
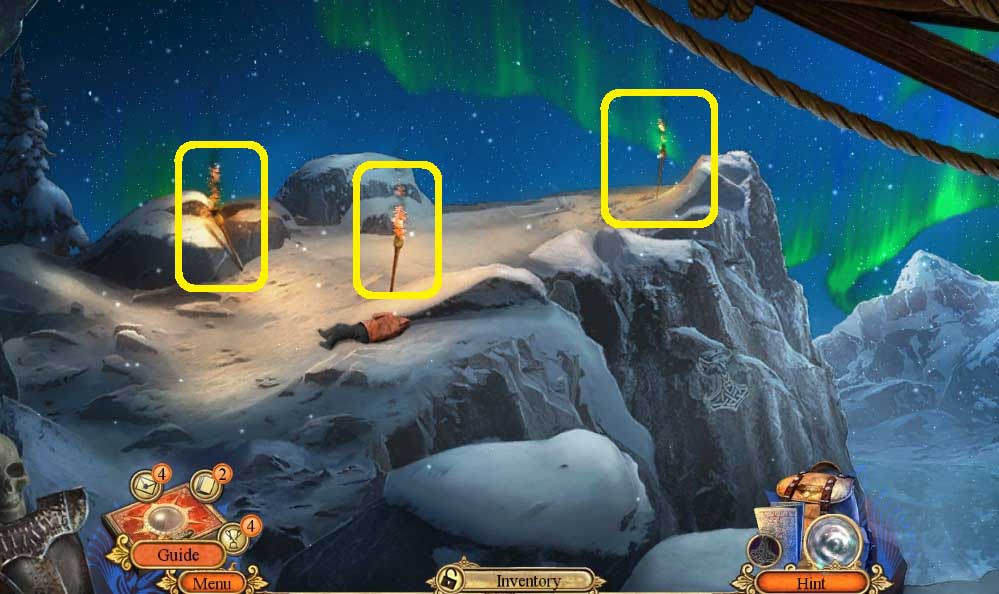
- Use the lit torches on the scene.
General Information & Tips
Chapter 1 What Happened?
Chapter 2 Kabaret
Chapter 3 Street Bound
Chapter 4 Longbearbyen
Chapter 5 The Lab
Ask for help in the comments below!
Chapter 1 What Happened?
Chapter 2 Kabaret
Chapter 3 Street Bound
Chapter 4 Longbearbyen
Chapter 5 The Lab
Ask for help in the comments below!
